



Posted by Mia Wren on 25th May 2026
Can You Use a Regular Muffin Recipe in a Mini Muffin Tin?
You do not need to go hunting for a special mini muffin recipe just because the holes in the tin are smaller. The internet makes it look as though every tin, tray and spoon needs its own separate recipe, but in this case, honestly, it doesn't.
A normal muffin batter works perfectly well in a mini muffin tin. You keep the oven temperature the same and simply bake them for less time.
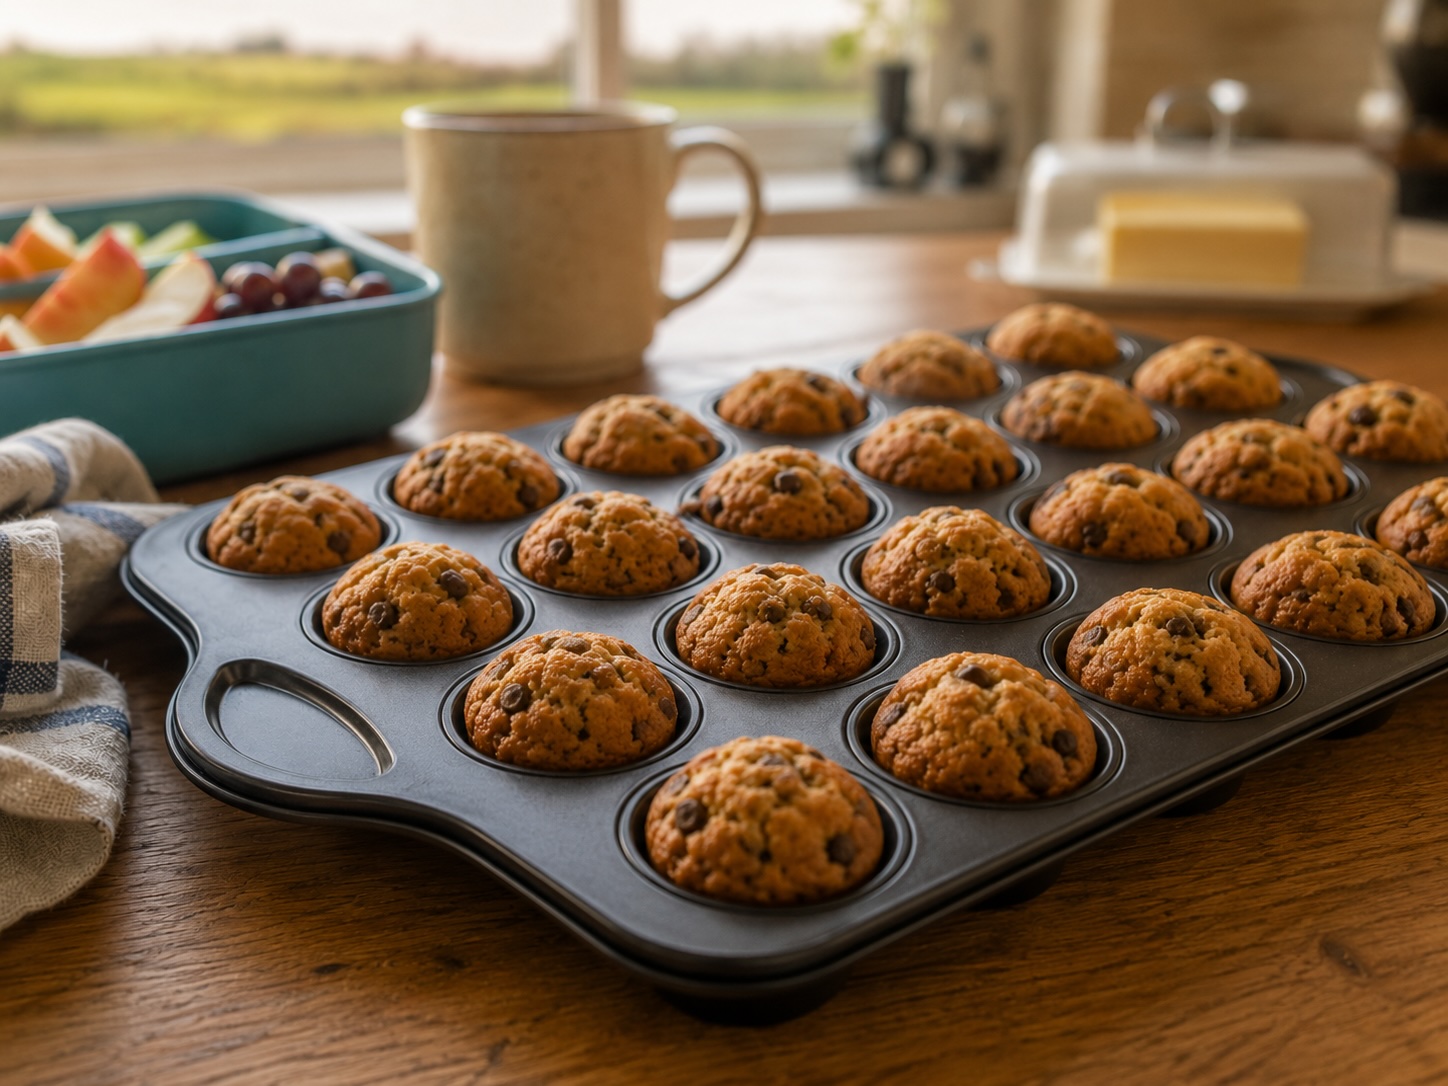
Same batter, same temperature, less time
A standard muffin recipe usually bakes for about 18–22 minutes. With mini muffins, you need to start checking much earlier. Look at them from around 8–10 minutes, especially the first time you use a recipe in a mini muffin tin.
Most mini muffins are done somewhere around 10–14 minutes, but there is a bit of judgement involved. Banana muffins, apple muffins, blueberry muffins, courgette muffins and anything with grated fruit or veg will usually need a little longer because the batter holds more moisture. A lighter, cupcake-style batter may be ready sooner.
| Batter type | Approx. mini muffin time | Note |
|---|---|---|
| Standard / plain | 10–12 minutes | Check from 8 minutes |
| Cupcake-style (lighter) | 8–11 minutes | Can be ready early |
| Banana, apple, berry | 12–14 minutes | Holds more moisture |
| Grated veg (courgette, carrot) | 12–15 minutes | Test the centre |
The one thing not to do is leave them in for the same time as full-size muffins. That is how you end up with dry little hockey pucks with dark bottoms.
Mini muffins are less forgiving because there is simply less batter there. A full-size muffin can survive an extra couple of minutes. A mini muffin takes it personally.
Fill the cups properly
This is where people often go wrong, and it seems like such a small thing that nobody thinks it matters.
The rule:
Fill each cup about two-thirds full.
Not halfway. Not right to the top. Two-thirds is the sweet spot.
If you underfill them, they bake too quickly and come out small and dry. If you overfill them, the tops rise, spread across the tin, and join hands with the muffin next door. Then you're trying to prise them apart with a knife and pretending you meant them to look rustic.
A small cookie scoop is brilliant for this. It is not essential, but it does make life easier because every cup gets roughly the same amount of batter. With mini muffins, that matters more than it does with larger ones. A tiny difference in filling can mean one row is ready while another is still soft in the middle.
So if your mini muffins bake unevenly, don't immediately blame the oven. It might just be that one cup got a generous spoonful and another got the sad scraping from the side of the bowl.
With a 24-cup mini muffin tin, you can usually fit most of a standard muffin recipe into one tray, which is another reason they are useful. You are not left with a bowl of batter sitting on the worktop while the first batch bakes.
How to know when they are done?
You are looking for a top that feels set and springs back gently when you touch it.
A toothpick or cocktail stick should come out clean, or with a few moist crumbs on it. What you do not want is wet batter. The edges may also start to pull away from the tin slightly, which is a good sign.
Do not rely too much on colour. This is especially true with mini muffins. They can be fully baked before they look golden, particularly if the batter is pale or not very sugary. Banana, berry and vegetable batters can also look done on top while still being a bit too soft inside.
When in doubt, test one from the middle of the tin. The middle ones are usually the slowest to bake, so they tell you more than the ones around the edge.
Sticking is mostly preventable
Mini muffins can be slightly annoying for sticking because they have a lot of edge compared with their size. More edge means more contact with the tin.
So yes, grease the cups properly. Not just the bottom. Do the sides too.
For sticky batters, paper cases are your friend. Use them for low-fat recipes, fruit-heavy batters, anything with jam, melted cheese, or a lot of grated apple or courgette. Those are the ones that like to cling on as though they have paid rent.
Once the muffins are baked, let them sit in the tin for a few minutes before removing them. Just a few. If you try to lift them out immediately, they can tear. But if you leave them sitting there for ages, they steam in the tin and the bottoms go soft.
A good non-stick coating helps, of course, but even the best tin still needs a bit of common sense. Grease it, don't overbake, and give the muffins a short rest before you lift them out.
Mini muffins are brilliant for lunchboxes
This is probably where they come into their own.
You bake a batch, freeze them, and then take out one or two in the morning. By snack time or lunchtime, they have thawed. No chopping, no wrapping individual slices, no crumbs everywhere before you've even left the house.
Good lunchbox flavours are the ones that hold together well and don't make a huge mess. Banana oat is a reliable one. Blueberry works nicely, although it can be a bit juicy. Apple cinnamon, carrot and raisin, courgette chocolate chip, cheese and sweetcorn, pizza-style mini muffins, ham and cheese — all good options.
For school or nursery, keep them simple. Nut-free, easy to hold, and not so crumbly that they disintegrate the moment a child looks at them.
There is no point making a wholesome homemade snack if it ends up as damp crumbs at the bottom of the lunchbox.
Freezing them without making one big muffin lump
Let the mini muffins cool completely first.
Then put them in a single layer on a tray, plate or chopping board and freeze them like that. Once they are firm, tip them into a freezer bag or airtight container.
That extra first step stops them sticking together. Otherwise, you end up chiselling one muffin off a frozen clump at 7.30 in the morning, which is not the peaceful domestic moment we are aiming for.
For lunchboxes, you can pack them frozen. They will thaw by the time they are needed.
This is why a 24-cup mini muffin tin is genuinely useful. One bake gives you several days of small snacks, and the future version of you will be quietly grateful.
What usually goes wrong
- Dry muffins Probably in the oven too long, or the cups were underfilled. Start checking earlier next time.
- Wet in the middle The batter may simply be a moist one. Banana, apple, berries and grated veg all behave like this. Give them another minute or two and test one from the centre of the tin.
- Pale tops. Don't panic, they may still be done. Mini muffins often bake through before they brown properly.
- Sticking Grease more thoroughly next time, or use paper cases for the stickier recipes. And don't let them cool completely in the tin.
- Uneven baking Check how evenly you filled the cups. A small scoop usually solves that problem almost immediately.
Why bother with mini muffins at all?
Because they fit real life quite nicely.
They cool quickly, freeze well, thaw fast, and are already portioned. They work for lunchboxes, after-school snacks, toddler food, parties, picnics, and those slightly chaotic mornings when everyone needs feeding but nobody has made a plan.
And with a 24-cup tin, you can turn one normal muffin recipe into a full batch of small, ready-to-go portions in one go.
That is the appeal. Not because they are cute, although they are. Because they are useful.
The bit to remember
You can use a regular muffin recipe in a mini muffin tin.
Keep the oven temperature the same, fill each cup about two-thirds full, and start checking at around 8–10 minutes instead of waiting for the full-size muffin time.
Once you have worked out the timing for your favourite recipe, you'll probably find yourself making them again and again. One tray, twenty-four small portions, and something homemade ready for lunchboxes, snacks, parties or the freezer.